
Creating applications
Creating an application
To create a new application, go to the Applications module, then click the Add application. A window will open where you should enter the application name (according to the rules described in the chapter Naming conventions for application elements) and - optionally - add an icon.
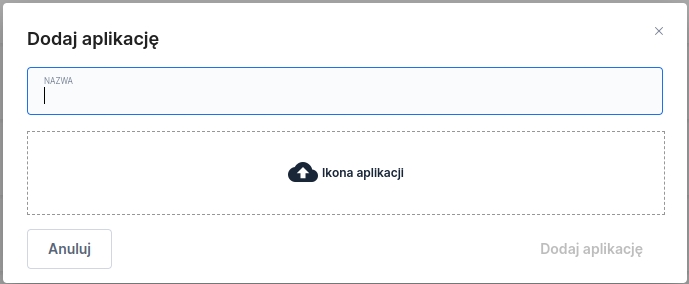
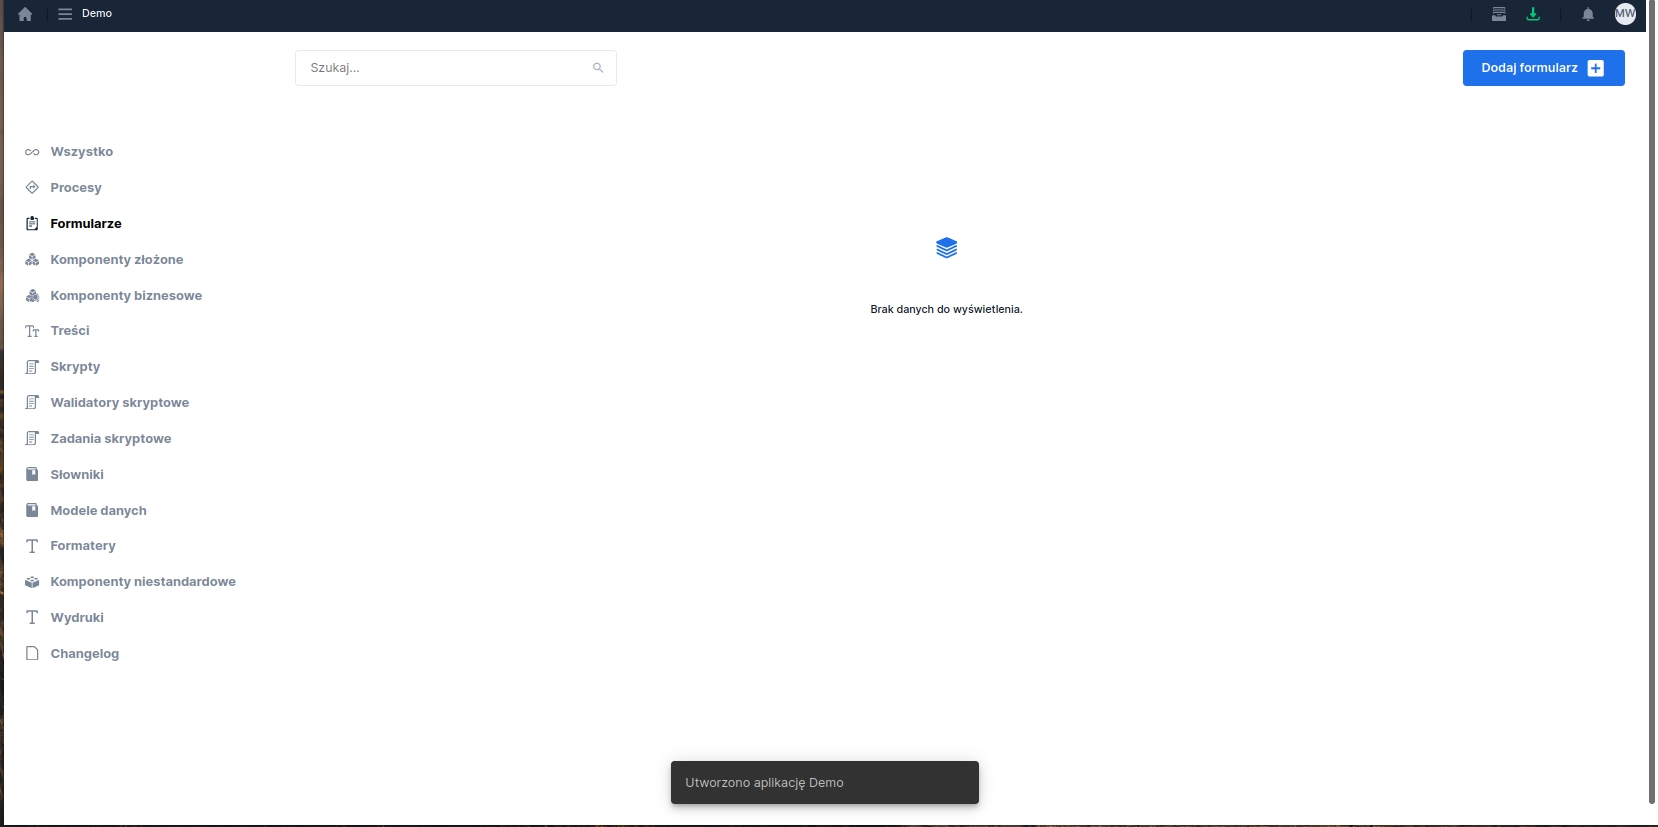
Clicking the Add application button will create the application and automatically switch to the Formstab. The name of the newly created application will appear in the upper left corner of the window.
Adding or importing a form or process
After creating the application, the next step is to add forms and processes to it.
To add a form/process to the application while in the Forms or Processestab, click the Add form/processbutton. In the displayed window you have the option to add a new form or process (the New form/processoption) or import an existing one from the repository (the Import existingoption). Depending on the chosen option, the artifact addition window looks different. Below the method for adding a form is described - the steps for a process are identical.
Adding a new form
If you want to add a newly created request to the application, proceed as with standard form creation:
set its name and location,
optionally add a description,
optionally change the number of columns (default is 16 columns).
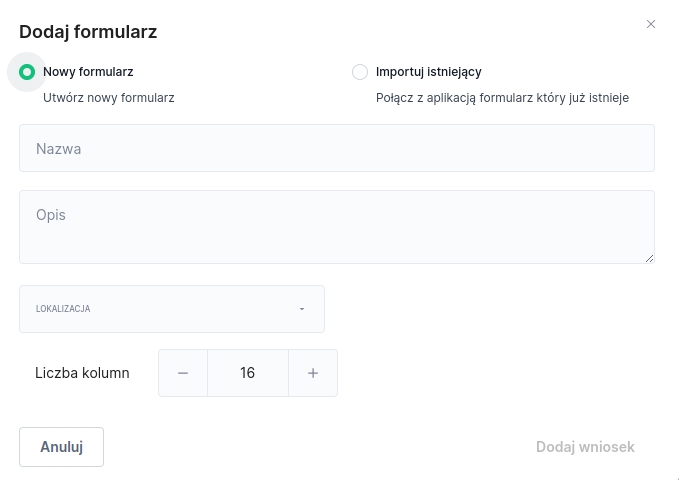
After clicking the Add request button, a window for the newly created form requiring saving will open.
Importing an existing form
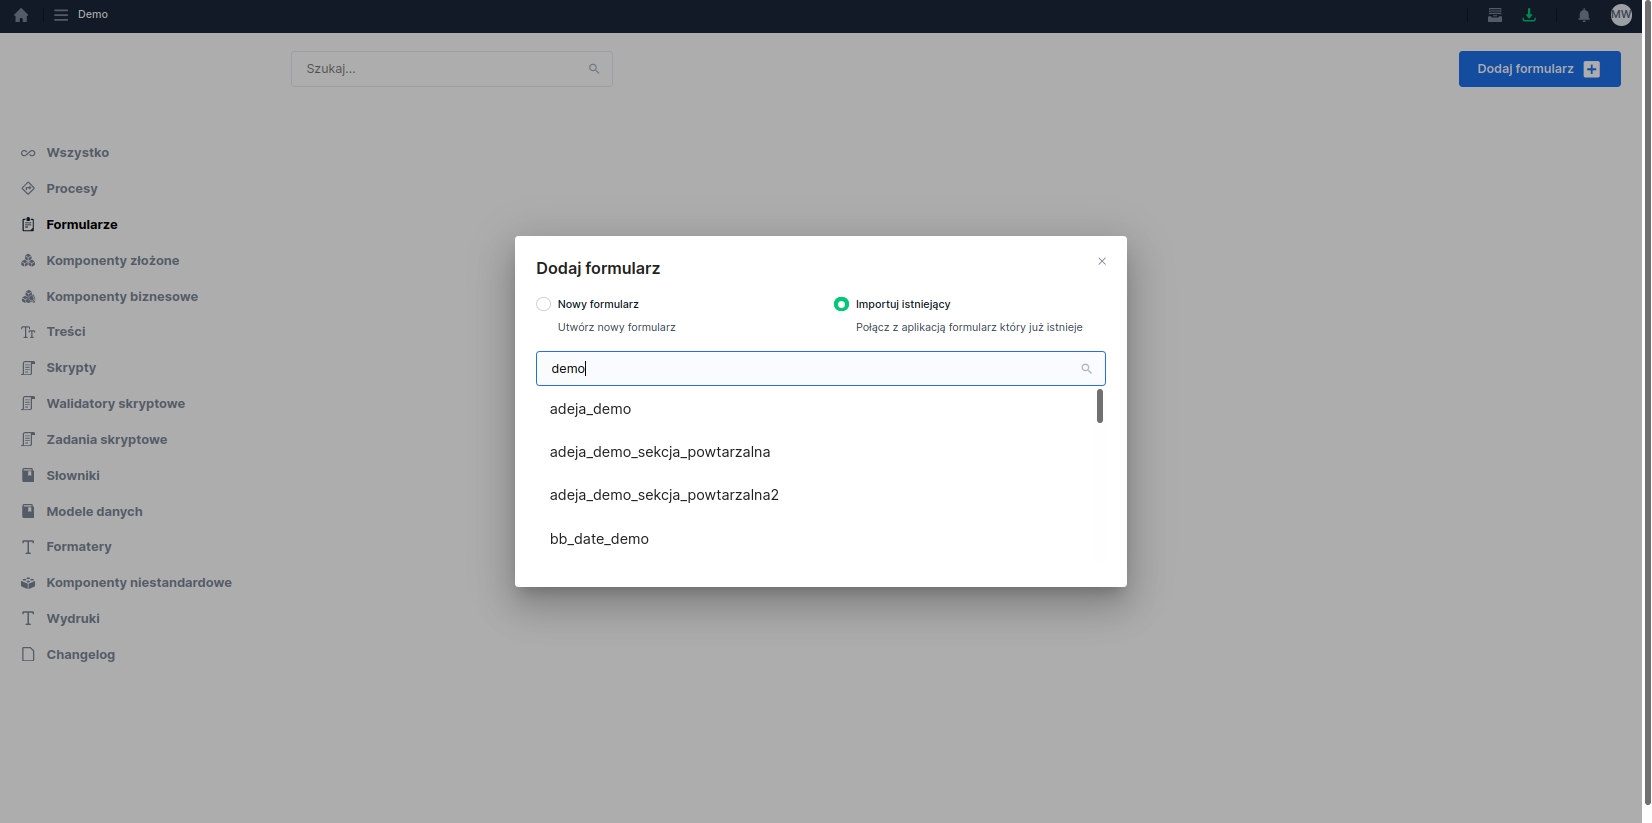
If you previously created a form, choose in the Add form window the Import existing option and enter the request name in the search field (typing additional characters narrows the list of templates). After clicking the request name it will be added to the application. Adding an existing form to the application will automatically pull in all dependent elements, such as composite components, contents, dictionaries, or validators.
Last updated
Was this helpful?